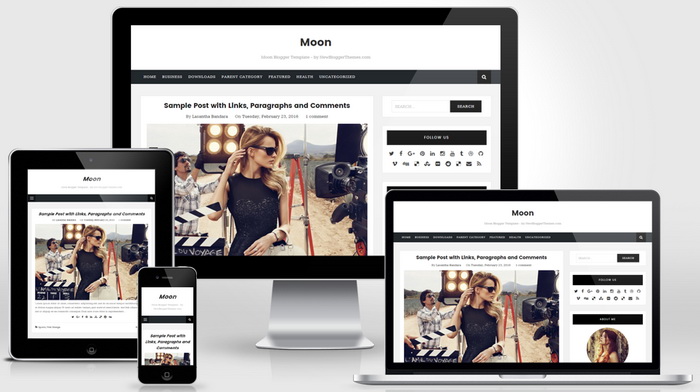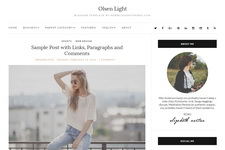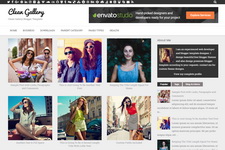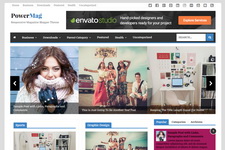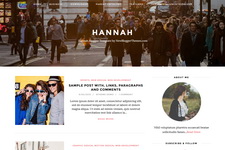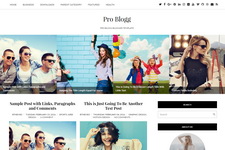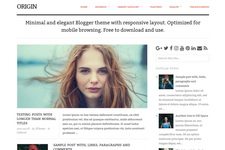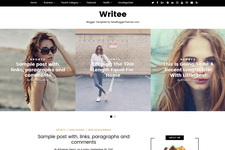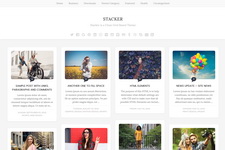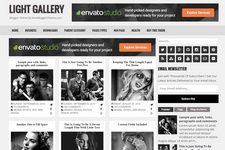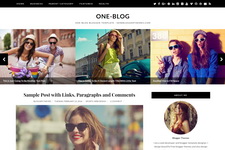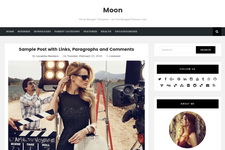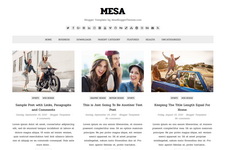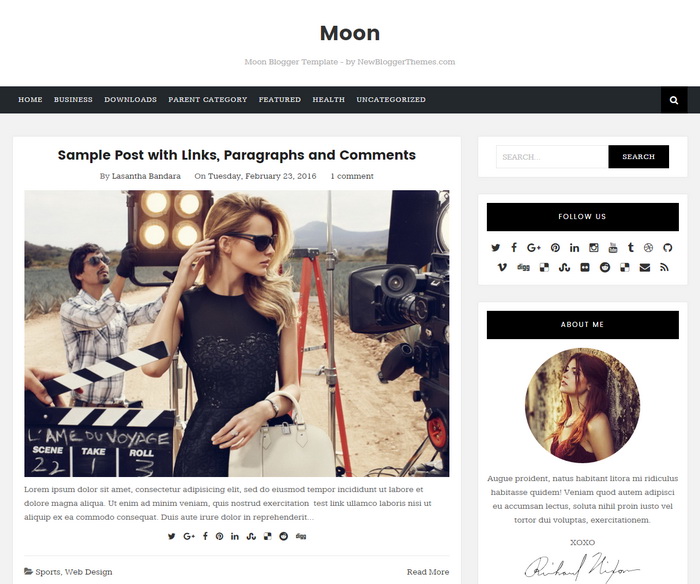
Moon is a minimal, clean and elegant, 100% responsive, search engine optimized, 2 columns blogger theme for fashion blogs, writers or others. Moon Blogger Template is template designer compatible, so you can change fonts (about 100 fonts) and colors (unlimited colors) within a few seconds without having any knowledge about coding. This blogger template has a 4 columns footer widgets section, right sidebar, web fonts, unlimited colors, icon fonts, background image support, related posts with thumbnails, social icons, sharing buttons, top navigation menu, numbered page navigation, auto post summaries, custom about me widget, scroll to top button and more.
[purchase_link id="4397" text="Purchase - Moon Blogger Template" style="button" color="blue"]
It is 100% Responsive: Check Mobile Friendly
It has search engine friendly data: Check SEO Friendly
Moon Blogger Template Features
- 100% Responsive (Mobile Friendly)
- Search Engine Optimized
- Unlimited Colors to Choose
- Hundreds of Fonts to Select
- Support for a Background Image
- Auto Post Summaries on Homepage
- Related Posts with Thumbnails
- 4 Columns Footer Widgets Area
- Full Width Not Found(404) Page (Check 404 Page)
- Top Multi-level Navigation Menus
- Numbered Page Navigation
- Custom Post Navigation
- Beautiful Social Buttons
- Post Share Buttons
- Custom About Me Widget
- Feedburner Email Subscription Box
- Facebook and Twitter Meta Data
- Scroll to Top Button
- Many More Features...
How To Set the Background Image
Go to "Advanced" tab of the "Blogger Template Designer".
Set "Header Background Color" and "Content Background Color" to Transparent value.
Now go to "Background" tab to set the background image.
How To Configure Top Navigation Menu
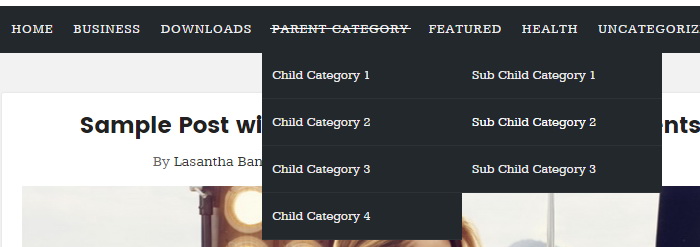
Find this in "Edit HTML":
<ul class='clearnbt' id='primary-menunbt'>

<li><a expr:href='data:blog.homepageUrl'>Home</a></li>

<li class='menu-item-has-children'><a href='#'>Business</a>
<ul class='sub-menu'>
<li><a href='#'>Internet</a></li>
<li><a href='#'>Market</a></li>
<li><a href='#'>Stock</a></li>
</ul>
</li>

...

</ul>
Replace "#" marks with real URLs and change anchor texts as you like.
How To Configure Social Buttons
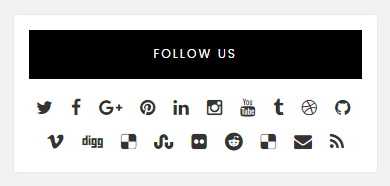
Find this in "Edit HTML":
<div class='widget widget_socialsnbt'>
<h2>Follow Us</h2>
<ul class='socialsnbt'>
<li><a href='https://twitter.com/' rel='nofollow' target='_blank' title='Twitter'><i class='fa fa-twitter'/></a></li>
<li><a href='https://www.facebook.com/' rel='nofollow' target='_blank' title='Facebook'><i class='fa fa-facebook'/></a></li>
<li><a href='https://plus.google.com/' rel='nofollow' target='_blank' title='GooglePlus'><i class='fa fa-google-plus'/></a></li>
<li><a href='https://www.pinterest.com/' rel='nofollow' target='_blank' title='Pinterest'><i class='fa fa-pinterest'/></a></li>
...
</ul>
</div>
Add your own social links replacing default social profile URLs.
How To Configure Numbered Page Navigation

Find this in "Edit HTML":
var pageNaviConf = {
	perPage: 4,
	numPages: 6,
	firstText: "First",
	lastText: "Last",
	nextText: "Next",
	prevText: "Prev"
}
By default, page navigation has configured to display 4 posts per page. For example if you need to display 6 posts per page, change "perPage" value to 6. Now your final code should be:
var pageNaviConf = {
	perPage: 6,
	numPages: 6,
	firstText: "First",
	lastText: "Last",
	nextText: "Next",
	prevText: "Prev"
}
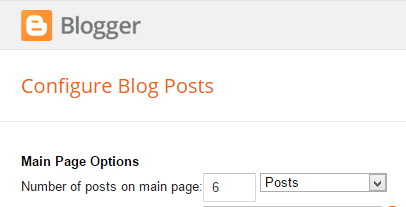
Note: Also set "Number of posts on main page" value to 6 through Blogger settings.
How To Configure About Me Widget
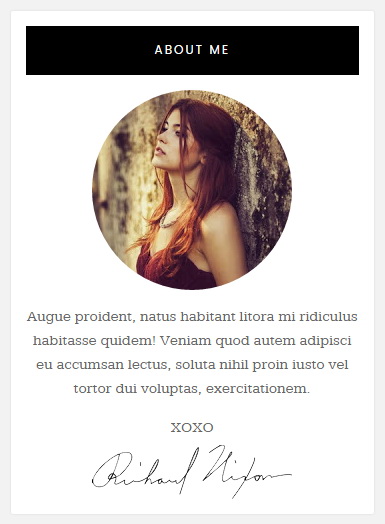
Find this in "Edit HTML":
<div class='widget widget_aboutmenbt'>
<h2>About Me</h2>
<div class='widget_aboutnbt clearfix'>
<p><img class='img-round' src='https://2.bp.blogspot.com/-VG8o1WcolLw/VzAs5337MuI/AAAAAAAAR0Y/7lBMCwW-vs0okKDhnvlsgHJIU3qQqxGHgCLcB/s200-c/girl.jpg'/></p>
<p>Augue proident, natus habitant litora mi ridiculus habitasse quidem! Veniam quod autem adipisci eu accumsan lectus, soluta nihil proin iusto vel tortor dui voluptas, exercitationem.</p>
<p class='widget_about_sig'>XOXO <img src='https://3.bp.blogspot.com/-JUQ-6nZNeKE/VzBKO0LsU-I/AAAAAAAAR00/NJQXkZ498JQpQeOOPfxUznUw6xUm88OVgCLcB/s1600/sample-signature-img.png'/></p>
</div>
</div>
Replace "https://2.bp.blogspot.com/-VG8o1WcolLw/VzAs5337MuI/AAAAAAAAR0Y/7lBMCwW-vs0okKDhnvlsgHJIU3qQqxGHgCLcB/s200-c/girl.jpg" with your own image address.
Replace "https://3.bp.blogspot.com/-JUQ-6nZNeKE/VzBKO0LsU-I/AAAAAAAAR00/NJQXkZ498JQpQeOOPfxUznUw6xUm88OVgCLcB/s1600/sample-signature-img.png" with your signature image address.
Also replace the description of the about me widget.
Moon Blogger Template Responsive View
