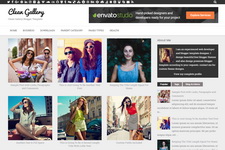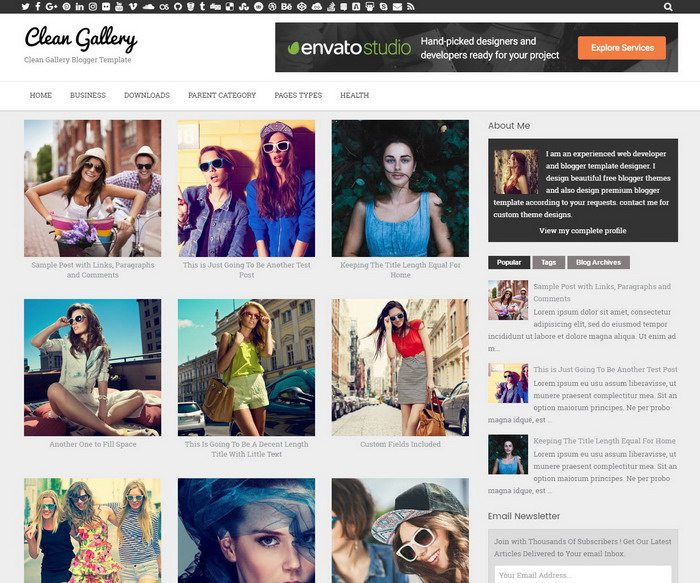
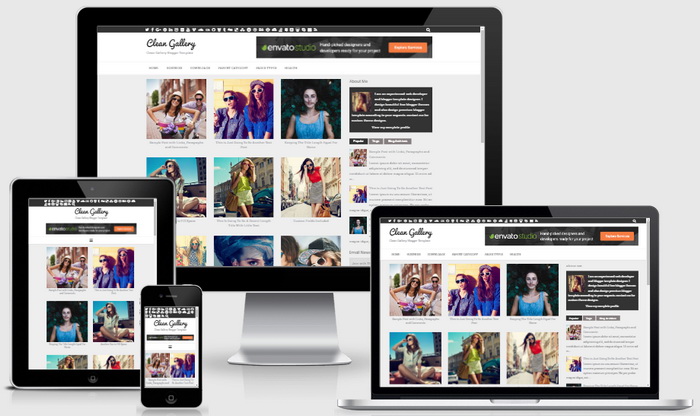
Clean Gallery is easy to use, search engine optimized, clean and elegant, galley blogger template to showcase your content. It is fully responsive (mobile friendly) and adopts to various screen sizes, ensuring that your site content is perfectly displayed in different devices. You can change background image, colors and fonts of this theme within few seconds using blogger template designer (without going to Edit HTML). Clean Gallery Blogger template has a 4 columns footer widgets area, left/right sidebar, hundreds of web fonts, unlimited color options, Font Awesome icon fonts, related posts with thumbnails, social and post share buttons, top navigation menu, scroll to top button, customized profile widget, multi tabbed widget and more.
Clean Gallery Blogger Template Features
- Fully responsive design that works on all devices
- Gallery-style homepage layout with grid post display
- Multiple post layouts (default, left sidebar, full width)
- Advanced customization options through Blogger Template Designer
- SEO optimization with Schema.org structured data
- Structured data included
- Over 50 color options for complete customization (Check Colors)
- Google Fonts integration with multiple font options (Check Fonts)
- Support for a background image (Check Background Image Support)
- Related posts with thumbnails (label-based post matching)
- Clean Admin Layout page (Check Layout)
- 14+ widget areas (Header banner area, Full-width content area, sidebar, 4 columns footer)
- Full width not found(404) page Check 404 Page
- Mobile-friendly navigation with hamburger menu
- Tabbed widget area
- Numbered page navigation
- Custom post navigation
- Built-in social media integration with 30+ platforms
- Post share buttons for all major platforms
- Custom profile widget
- Open Graph and Twitter Card support
- Integrated search form
- Back-to-top button
- Google Fonts and Font Awesome 6.7.2 icons
- Minified CSS and JavaScript for faster loading
- Cross-browser compatibility
- Many more features...
Here I have explained how to configure the Clean Gallery blogger theme.
How To Configure Top Navigation Menu
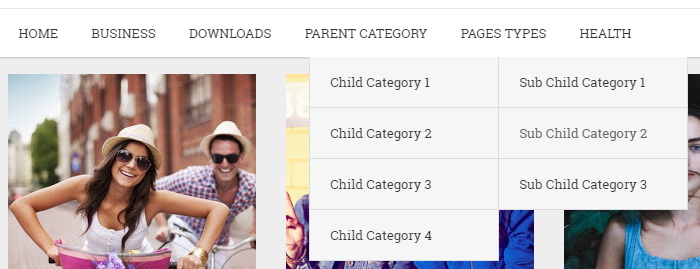
Find this in "Edit HTML":
<nav class='nav-primary' id='primary-navigation' itemscope='itemscope' itemtype='http://schema.org/SiteNavigationElement' role='navigation'>
<ul class='menu pg-nav-menu menu-primary' id='menu-primary-navigation'>

<li class='menu-item'><a expr:href='data:blog.homepageUrl'>Home</a></li>

<li class='menu-item menu-item-has-children'><a href='#'>Business</a>
<ul class='sub-menu'>
<li class='menu-item'><a href='#'>Internet</a></li>
<li class='menu-item'><a href='#'>Market</a></li>
<li class='menu-item'><a href='#'>Stock</a></li>
</ul>
</li>

...

</ul>
</nav>
Replace "#" marks with real URLs and change anchor texts as you like. I have already configured a part of the menu (see "Pages Types") with sample URLs and anchor text to understand how it works.
How To Configure Social Buttons
![]()
Find this in "Edit HTML":
<ul class='menu-social-navigation'>
<li><a href='https://twitter.com/' rel='nofollow' target='_blank' title='Twitter'><i class='fa fa-twitter'/></a></li>
<li><a href='https://www.facebook.com/' rel='nofollow' target='_blank' title='Facebook'><i class='fa fa-facebook'/></a></li>
<li><a href='https://plus.google.com/' rel='nofollow' target='_blank' title='GooglePlus'><i class='fa fa-google-plus'/></a></li>
...
</ul>
Add your social profile links replacing default social profile URLs.
How To Configure Numbered Page Navigation

Find this:
var pageNaviConf = {
    perPage: 12,
    numPages: 6,
    firstText: "First",
    lastText: "Last",
    nextText: "Next",
    prevText: "Prev"
}
By default, page navigation has configured to display 12 posts per page. For example if you need to display 6 posts per page, change "perPage" value to 6. Now final code should be:
var pageNaviConf = {
    perPage: 6,
    numPages: 6,
    firstText: "First",
    lastText: "Last",
    nextText: "Next",
    prevText: "Prev"
}
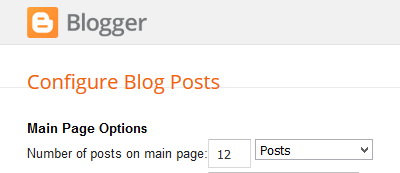
Note: Also set "Number of posts on main page" value to 6 through Blogger settings.
How To Create Full Width or Left Sidebar Posts/pages
If you need to create a full width page, go to create/edit your post/page and add this into the post editor and publish/update your post/page: [full_width]
(Adding Full Width Post/Page Example)
If you need to create a left sidebar page, go to create/edit your post/page and add this into the post editor and publish/update your post/page: [left_sidebar]
(Adding Left Sidebar Post/Page Example)
Clean Gallery Responsive View
Note
The Clean Gallery template is a powerful, flexible solution for bloggers who want a modern, responsive design with gallery-style post display. With its comprehensive customization options, SEO features, and social media integration, it's well-suited for a wide range of blogging needs.
For the best results, take time to customize the template to match your brand and content style. The template's flexibility allows for extensive customization while maintaining its core functionality and design integrity.
Clean Gallery WordPress Version
If you are using WordPress, find more features of the WordPress version of this theme:


