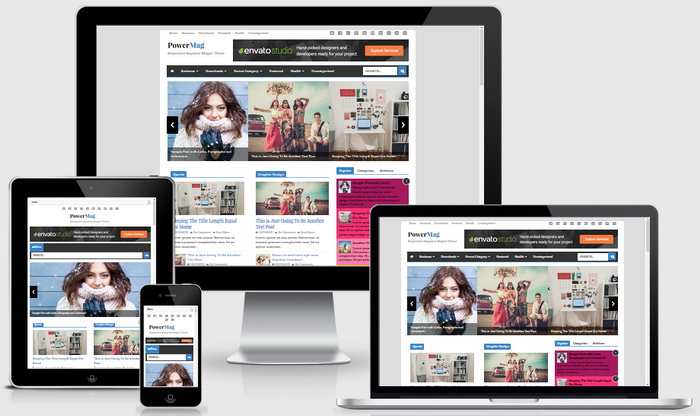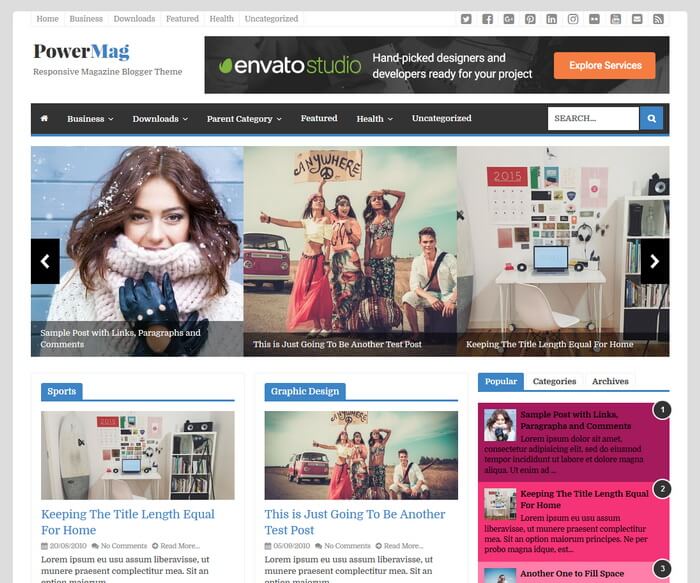
PowerMag is a clean and elegant, template designer compatible, fully responsive, easy to use, SEO friendly magazine blogger theme. PowerMag Blogger Template has a featured posts slider, featured posts area, auto post summaries, right sidebar, 3 columns footer widgets area, colors and fonts options, background image support, related posts with thumbnails, social and share buttons, scroll to top, 2 navigation menus and more.
PowerMag Theme Features
- 100% Responsive (Mobile Friendly)
- Optimized for Search Engines
- Colors Options / Unlimited Colors
- Fonts Options / Hundreds of Fonts
- Background Image Support
- Related Posts with Thumbnails
- Top Multi-level Navigation Menu
- Category Based Featured Posts Slider
- Category Based Featured Posts Areas
- Beautiful Posts Summaries
- Social Profile Buttons
- Post Share Buttons
- Numbered Page Navigation
- Facebook and Twitter Meta Data Included
- Structured Data Included
- Many More Features...
How To Configure Top Navigation Menu
![]()
Find this in "Edit HTML":
<ul class='nav-menunbt'>
<li><a expr:href='data:blog.homepageUrl'>Home</a></li>
<li><a href='#'>Business</a></li>
<li><a href='#'>Downloads</a></li>
<li><a href='#'>Featured</a></li>
<li><a href='#'>Health</a></li>
<li><a href='#'>Uncategorized</a></li>
</ul>
Replace "#" marks with real URLs and change anchor texts as you like.
How To Configure Social Buttons
![]()
Find this in "Edit HTML":
<ul class='nav-socialnbt'> <li><a href='https://twitter.com/' rel='nofollow' target='_blank' title='Twitter'><i class='fa fa-twitter-square fa-2x'/></a></li> <li><a href='https://www.facebook.com/' rel='nofollow' target='_blank' title='Facebook'><i class='fa fa-facebook-square fa-2x'/></a></li> <li><a href='https://plus.google.com/' rel='nofollow' target='_blank' title='GooglePlus'><i class='fa fa-google-plus-square fa-2x'/></a></li> <li><a href='https://www.pinterest.com/' rel='nofollow' target='_blank' title='Pinterest'><i class='fa fa-pinterest-square fa-2x'/></a></li> <li><a href='https://www.linkedin.com/' rel='nofollow' target='_blank' title='Linkedin'><i class='fa fa-linkedin-square fa-2x'/></a></li> <li><a href='https://www.instagram.com/' rel='nofollow' target='_blank' title='Instagram'><i class='fa fa-instagram fa-2x'/></a></li> <li><a href='https://www.flickr.com/' rel='nofollow' target='_blank' title='Flickr'><i class='fa fa-flickr fa-2x'/></a></li> <li><a href='https://www.youtube.com/' rel='nofollow' target='_blank' title='Youtube'><i class='fa fa-youtube-square fa-2x'/></a></li> <li><a href='mailto:123@abc.com' rel='nofollow' target='_blank' title='Contact'><i class='fa fa-envelope-square fa-2x'/></a></li> <li><a expr:href='data:blog.homepageUrl + "feeds/posts/default"' target='_blank' title='RSS'><i class='fa fa-rss-square fa-2x'/></a></li> </ul>
Add your own social links replacing default social profile URLs.
How To Configure Main Navigation Menu

Find this in "Edit HTML":
<ul class='navnbt nav-menu-dropdownnbt'>

<li><a expr:href='data:blog.homepageUrl'><i class='fa fa-home'/></a></li>

<li><a href='#'>Business</a>
<ul class='sub-menu'>
<li><a href='#'>Internet</a></li>
<li><a href='#'>Market</a></li>
<li><a href='#'>Stock</a></li>
</ul>
</li>

...

</ul>
Replace "#" marks with real URLs and change anchor texts as you like.
How To Configure Featured Posts Slider
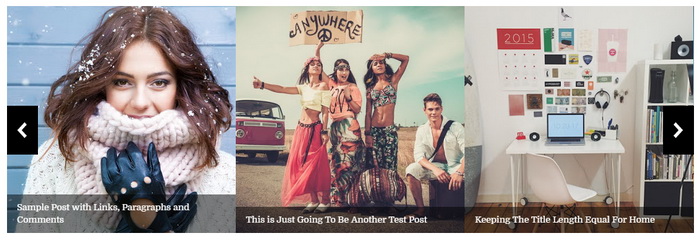
This slider automatically displays posts from a given category. To add your category name go to "Layout" page.
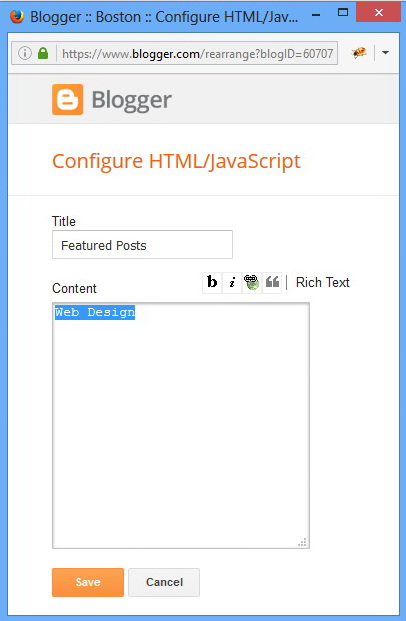
Click on the edit link of "Featured Posts" widget.
Add your category name like below and save the widget.
How To Configure Featured Posts Areas
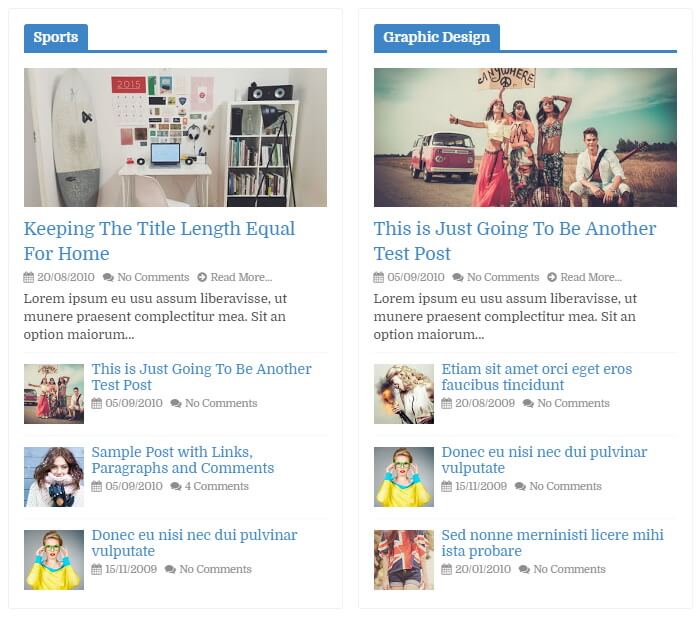
When you go to the "Layout" page, you can see 6 featured posts areas. (There are 4 areas above the blog posts widget and 2 areas under the blog posts widget).
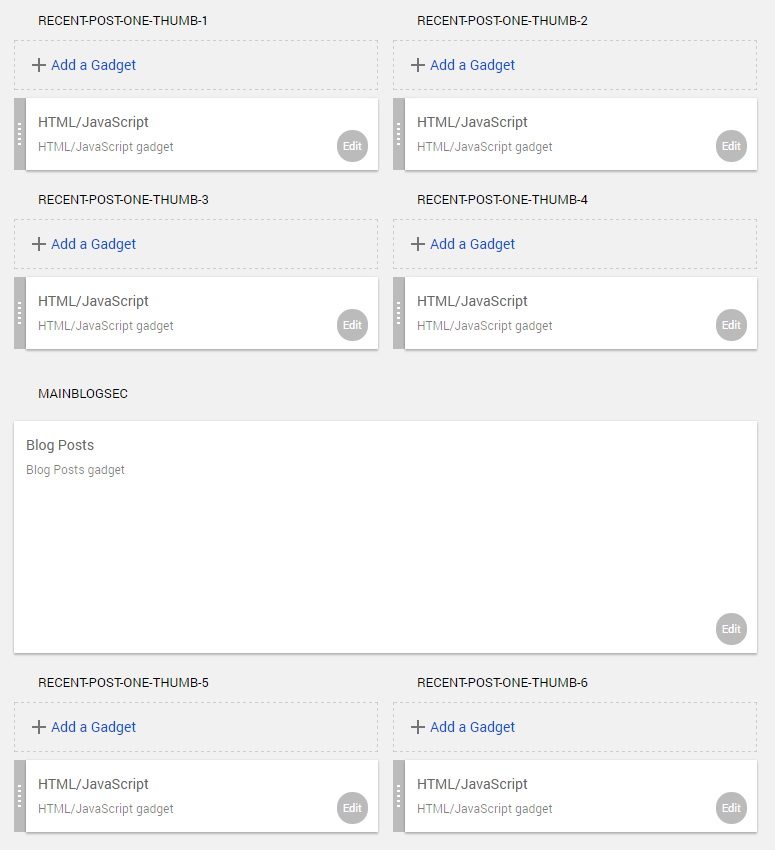
For each area there is a "HTML/JavaScript" widget. You need to add this code into these widgets to display featured posts based on categories:
<div class="recent-post-title"><h2><a href="/search/label/Sports?max-results=10">Sports</a></h2></div>
<script src="/feeds/posts/default/-/Sports?orderby=updated&alt=json-in-script&callback=featuredlabelposts"></script>
Note: Remember to replace the word "Sports" with your category name.
How To Configure Numbered Page Navigation

Find this:
var perPageNBT = 4,
    numPagesNBT = 6,
    firstTextNBT = "First",
    lastTextNBT = "Last",
    prevTextNBT = "« Previous",
    nextTextNBT = "Next »",
    urlactivepagenbt = location.href,
    home_pagenbt = "/";
By default, page navigation has configured to display 4 posts per page. For example if you need to display 6 posts per page, change "perPageNBT" value to 6. Now final code should be:
var perPageNBT = 6,
    numPagesNBT = 6,
    firstTextNBT = "First",
    lastTextNBT = "Last",
    prevTextNBT = "« Previous",
    nextTextNBT = "Next »",
    urlactivepagenbt = location.href,
    home_pagenbt = "/";
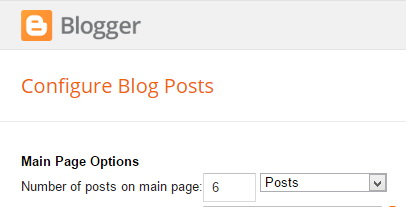
Note: Also set "Number of posts on main page" value to 6 through Blogger settings.
PowerMag Blogger Template Responsive View
