HestiaMag Free vs. Pro Versions : Features Comparison
| Features | Free Version | PRO Version |
|---|---|---|
| Template Designer Compatible (Color Options / Font Options / Background Support) |
✖ | ✔ | Search Engine Optimized | ✖ | ✔ |
| Remove Footer Credits | ✖ | ✔ |
| Priority Support | ✖ | ✔ |
| No Encrypted Scripts | ✖ | ✔ |
| Lifetime Theme Updates | ✔ | ✔ |
| For Unlimited Domains | ✔ | ✔ |
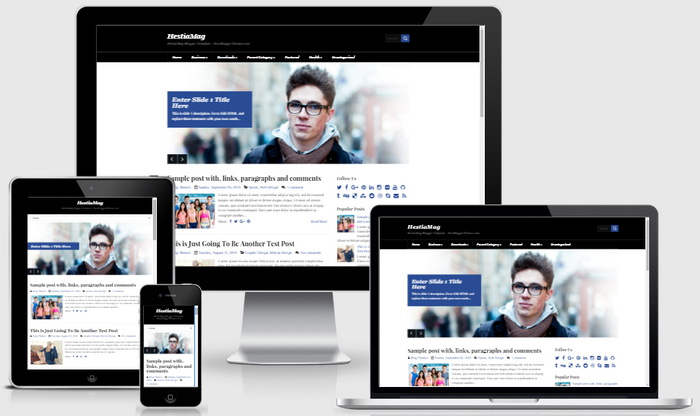
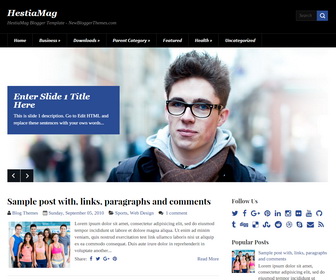
HestiaMag is a simple and elegant, 2 columns blogger theme with a 4 columns widgets area in footer. HestiaMag Blogger template has a featured content slider, scroll to top button, header search box, auto post summaries, related posts with thumbnails, right sidebar, share options, social buttons, top navigation menu, web fonts and more.
How To Configure Top Navigation Menu

Find this in "Edit HTML":
<div class='menunbt'>
<ul id='menu-primary-itemsnbt'>

<li><a expr:href='data:blog.homepageUrl'>Home</a></li>

<li><a href='#'>Business</a>
<ul class='sub-menu'>
<li><a href='#'>Internet</a></li>
<li><a href='#'>Market</a></li>
<li><a href='#'>Stock</a></li>
</ul>
</li>

...

</ul>
</div>
Replace "#" marks with real URLs and change anchor texts as you like.
How To Configure Featured Content Slider:
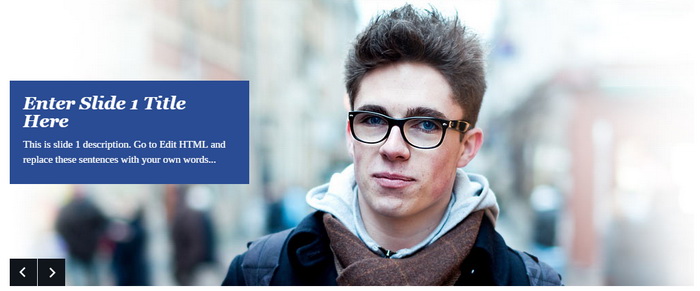
There are 3 slides in the slider. You can add more slides if you want.
This is the code for the first slide:
<!-- slide 1 start-->
<li>
<a href='ENTER-SLIDE-1-LINK-HERE'><img src='https://1.bp.blogspot.com/-pebLx-gvDZk/Vuq5eRvl0yI/AAAAAAAARb0/AnCI9CYBMZAEFJMaSEJsv9NaVDShVtvUw/s1600/slide-1.jpg'/></a>
<div class='flex-caption'>
<h2 class='flex-title'><a href='ENTER-SLIDE-1-LINK-HERE'>Enter Slide 1 Title Here</a></h2>
<p>This is slide 1 description. Go to Edit HTML and replace these sentences with your own words...</p>
</div>
</li>
<!-- slide 1 end-->
Replace,
"ENTER-SLIDE-1-LINK-HERE" with your real slide link,
"Enter Slide 1 Title Here" with your real slide title,
"This is slide 1 description. Go to Edit HTML and replace these sentences with your own words..." with your real slide description,
"https://1.bp.blogspot.com/-pebLx-gvDZk/Vuq5eRvl0yI/AAAAAAAARb0/AnCI9CYBMZAEFJMaSEJsv9NaVDShVtvUw/s1600/slide-1.jpg" with your real slide image URL.
Do the same thing for next 2 slides.
How To Configure Social Buttons
Find this in "Edit HTML":
<div class='social-buttonsnbt widget'>
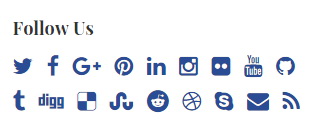
<h2>Follow Us</h2>
<div class='widget-content'>
<a href='https://twitter.com/' rel='nofollow' target='_blank' title='Twitter'><i class='fa fa-twitter'/></a>
<a href='https://www.facebook.com/' rel='nofollow' target='_blank' title='Facebook'><i class='fa fa-facebook'/></a>
<a href='https://plus.google.com/' rel='nofollow' target='_blank' title='GooglePlus'><i class='fa fa-google-plus'/></a>
<a href='https://www.pinterest.com/' rel='nofollow' target='_blank' title='Pinterest'><i class='fa fa-pinterest'/></a>
...
</div>
</div>
Add your own social links replacing default social profile URLs.
HestiaMag Blogger Template Responsive View
