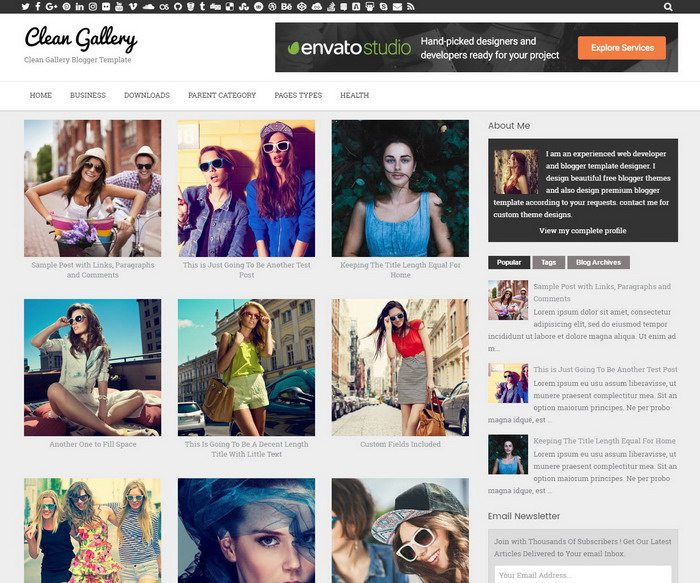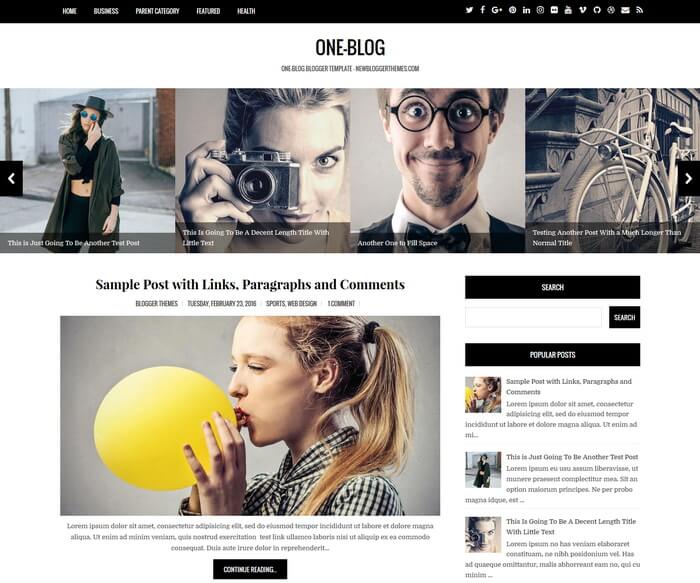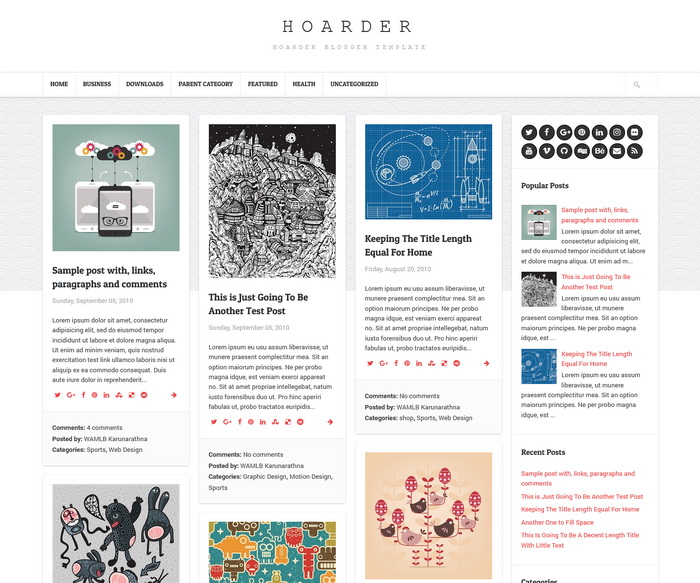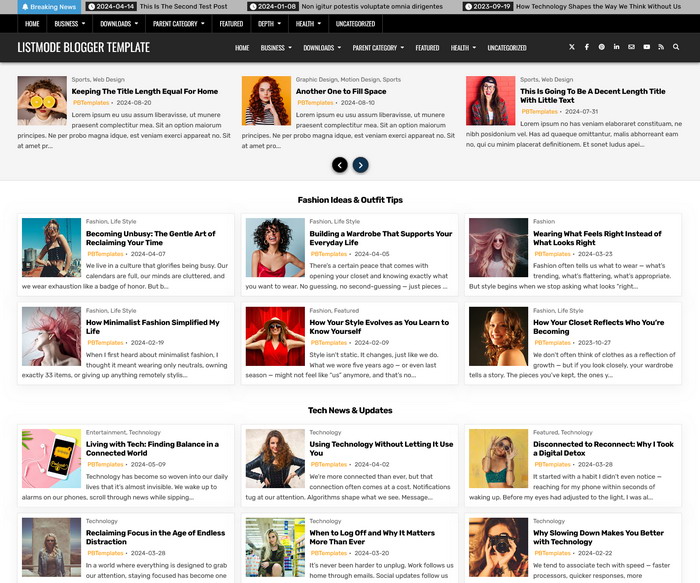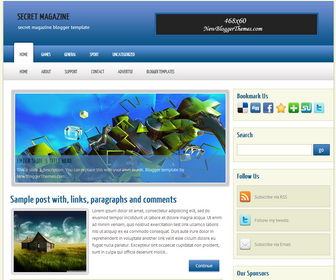
Secret Magazine is a 2 Columns, Beautiful Magazine Style Blogger Template. LepontoMag Blogger Template has Featured Content Slider, Top 2 Navigation Menus, Header Ad Banner, Social Buttons, Sidebar Ad Banners, Right Sidebar and More Features.
How To Configure First Top Navigation Menu
Find this in “Edit HTML”:
<div id='nav2'><!-- CATEGORY MENU -->
<ul class='sf-menu'>
   <li class='current-cat'><a expr:href='data:blog.homepageUrl'>Home</a></li>
   <li><a href='#'>Games</a></li>
   <li><a href='#'>General</a></li>
   <li><a href='#'>Sport</a></li>
   <li><a href='#'>Uncategorized</a></li>
</ul>
</div><!-- END CATEGORY MENU -->
Replace “#” marks with real URLs and change anchor texts as you like.
How To Configure Second Top Navigation Menu
Go to “Layout”. Click on “Edit” link of “Edit This Menu” widget.
Now add your links to that link list widget.
How To Configure Featured Content Slider:
Find this in “Edit HTML”:
<div id='slider'>
<ul id='sliderContent'>

   <!-- slide 1 code start -->
   <li class='sliderImage'>
      <a href='ENTER-SLIDE-1-LINK-HERE'><img height='259' src='http://2.bp.blogspot.com/-YeihcYrewFY/UonY4chA_rI/AAAAAAAAIfk/kCClCSuso2o/s1600/slide-image-1.jpg' width='612'/></a>
      <span class='bottom'>
         <h2><a href='ENTER-SLIDE-1-LINK-HERE'>Enter Slide 1 Title Here</a></h2>
         <p>This is slide 1 description. You can replace this with your own words. Blogger template by NewBloggerThemes.com...</p>
      </span>
   </li>
   <!-- slide 1 code end -->

   <!-- slide 2 code start -->
   <li class='sliderImage'>
      <a href='ENTER-SLIDE-2-LINK-HERE'><img height='259' src='http://1.bp.blogspot.com/-_hpel5heDAw/UonY4rPXonI/AAAAAAAAIfo/k7lHW96d6m0/s1600/slide-image-2.jpg' width='612'/></a>
      <span class='bottom'>
         <h2><a href='ENTER-SLIDE-2-LINK-HERE'>Enter Slide 2 Title Here</a></h2>
         <p>This is slide 2 description. You can replace this with your own words. Blogger template by NewBloggerThemes.com...</p>
      </span>
   </li>
   <!-- slide 2 code end -->

   <!-- slide 3 code start -->
   <li class='sliderImage'>
      <a href='ENTER-SLIDE-3-LINK-HERE'><img height='259' src='http://1.bp.blogspot.com/-Rmuh_3gn19k/UonY4UEWyJI/AAAAAAAAIfs/OdG7Ibb5l24/s1600/slide-image-3.jpg' width='612'/></a>
      <span class='bottom'>
         <h2><a href='ENTER-SLIDE-3-LINK-HERE'>Enter Slide 3 Title Here</a></h2>
         <p>This is slide 3 description. You can replace this with your own words. Blogger template by NewBloggerThemes.com...</p>
      </span>
   </li>
   <!-- slide 3 code end -->

   <div class='clear sliderImage'/>
</ul>
</div>
<!-- // slider -->
There are 3 slides in the slider. You can add a remove more slides if you want.
Now replace,
“ENTER-SLIDE-X-LINK-HERE”s with your real slide link,
“Enter Slide X Title Here” with your real slide title,
“This is slide 1 description. You can replace this with your own words. Blogger template by NewBloggerThemes.com…” with your real slide description,
Slide image URL,
for each slide. (X = 1 or X = 2 or X = 3)
How To Configure Social Buttons
Find this in “Edit HTML”:
<div class='side-widget'>
   <h3>Follow Us</h3>
   <ul id='topsoc'>
      <li class='first'>
         <a href='#' id='socrss'>Subscribe via RSS</a>
      </li>
      <li class='second'>
         <a href='#' id='twitter'>Follow my tweets</a>
      </li>
      <li class='third'>
         <a href='#' id='email'>Subscribe via Email</a>
      </li>
   </ul>
</div>
Add your own social links replacing “#” marks.
How To Configure Ad Banners
Find this in “Edit HTML”:
<div class='side-widget'>
<div class='advert'>
<h3>Our Sponsors</h3>
     <a href='#'><img src='http://4.bp.blogspot.com/-VR3CLkUfoWY/UoxTwtyuiAI/AAAAAAAAIjE/-vqWotyItu4/s1600/125x125-banner.png'/></a>
     <a href='#'><img src='http://4.bp.blogspot.com/-VR3CLkUfoWY/UoxTwtyuiAI/AAAAAAAAIjE/-vqWotyItu4/s1600/125x125-banner.png'/></a>
     <a href='#'><img src='http://4.bp.blogspot.com/-VR3CLkUfoWY/UoxTwtyuiAI/AAAAAAAAIjE/-vqWotyItu4/s1600/125x125-banner.png'/></a>
     <a href='#'><img src='http://4.bp.blogspot.com/-VR3CLkUfoWY/UoxTwtyuiAI/AAAAAAAAIjE/-vqWotyItu4/s1600/125x125-banner.png'/></a>
</div>
</div>
You can remove above code if you do not want ad banners or replace “#” marks with your advertises links and ad banner image URLs with real advertiser image URLs.